That gent who is’t doest not checketh on his coff’rs shalt loseth his apples!
TL;DR: I want (opensource) bare-metal backups of virtualization cluster nodes
There is Clonezilla, and I had written about it before. There also is a server edition, which makes deploying a single image to multiple computers faster. But, it was hard to install for me. More importantly, not cut for my needs.
FOG Project on the other hand has:
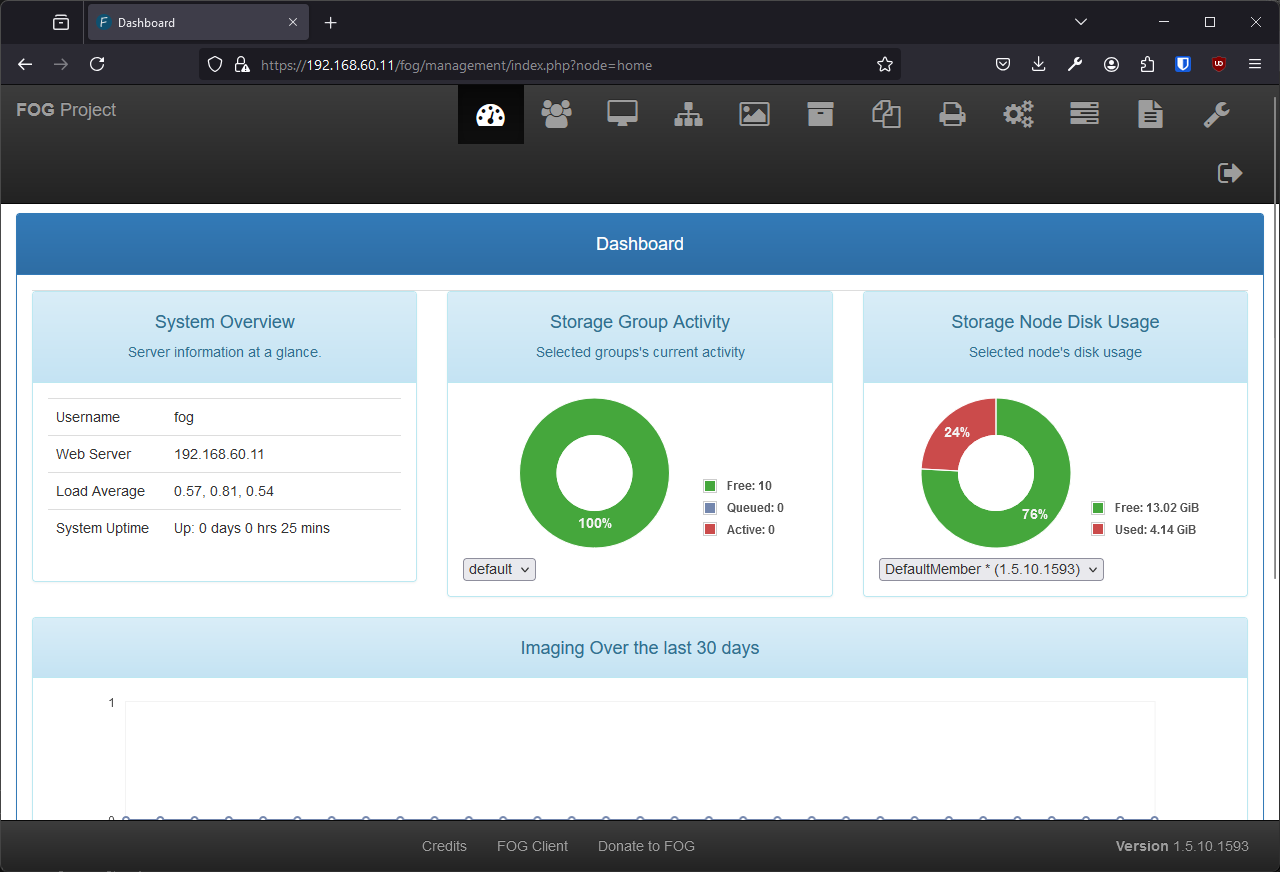
- Web UI to power-cycle, backup and restore machines.
- Per computer boot settings (I need it for my 5850X)
- USB stick, and iPXE support (with dnsmasq as Proxy DHCP)
Some trivia
-
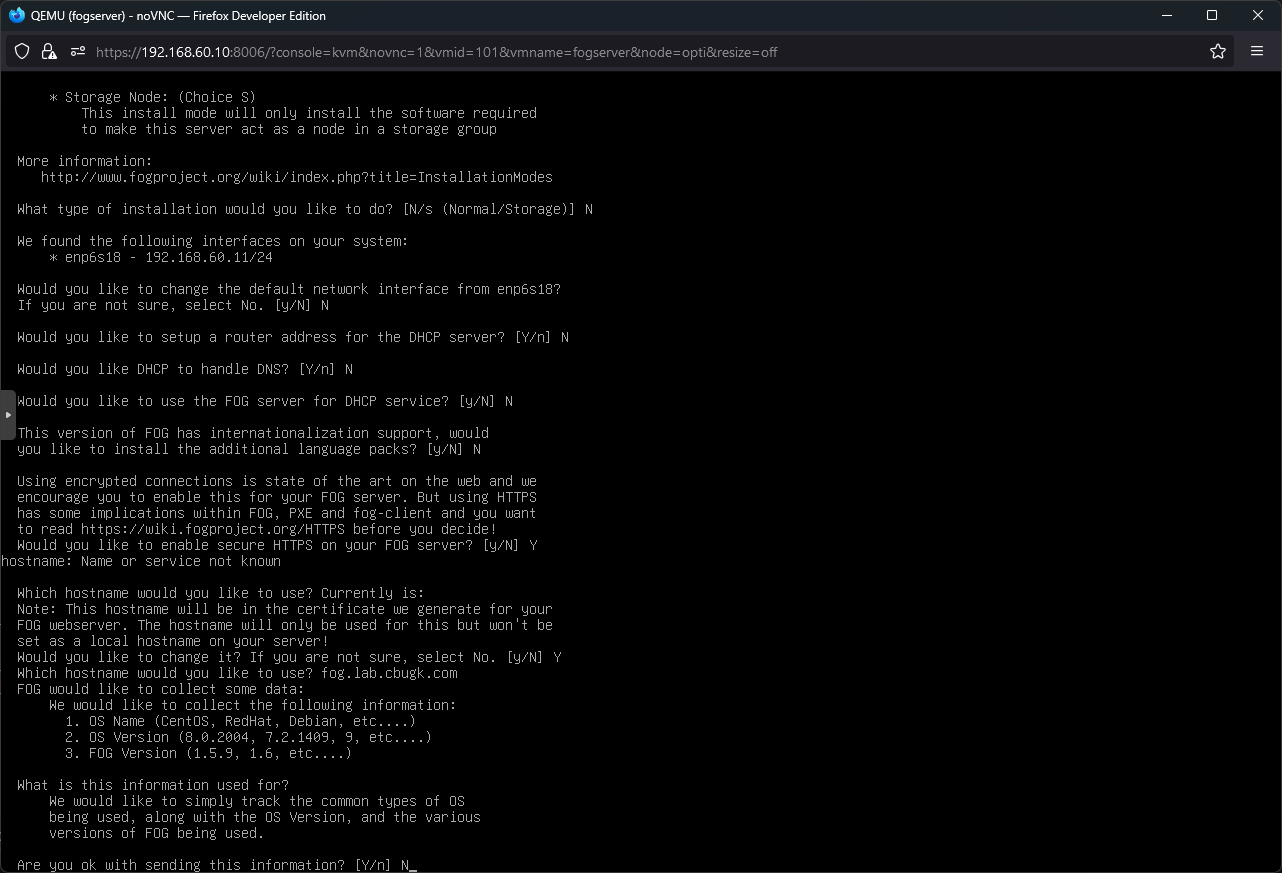
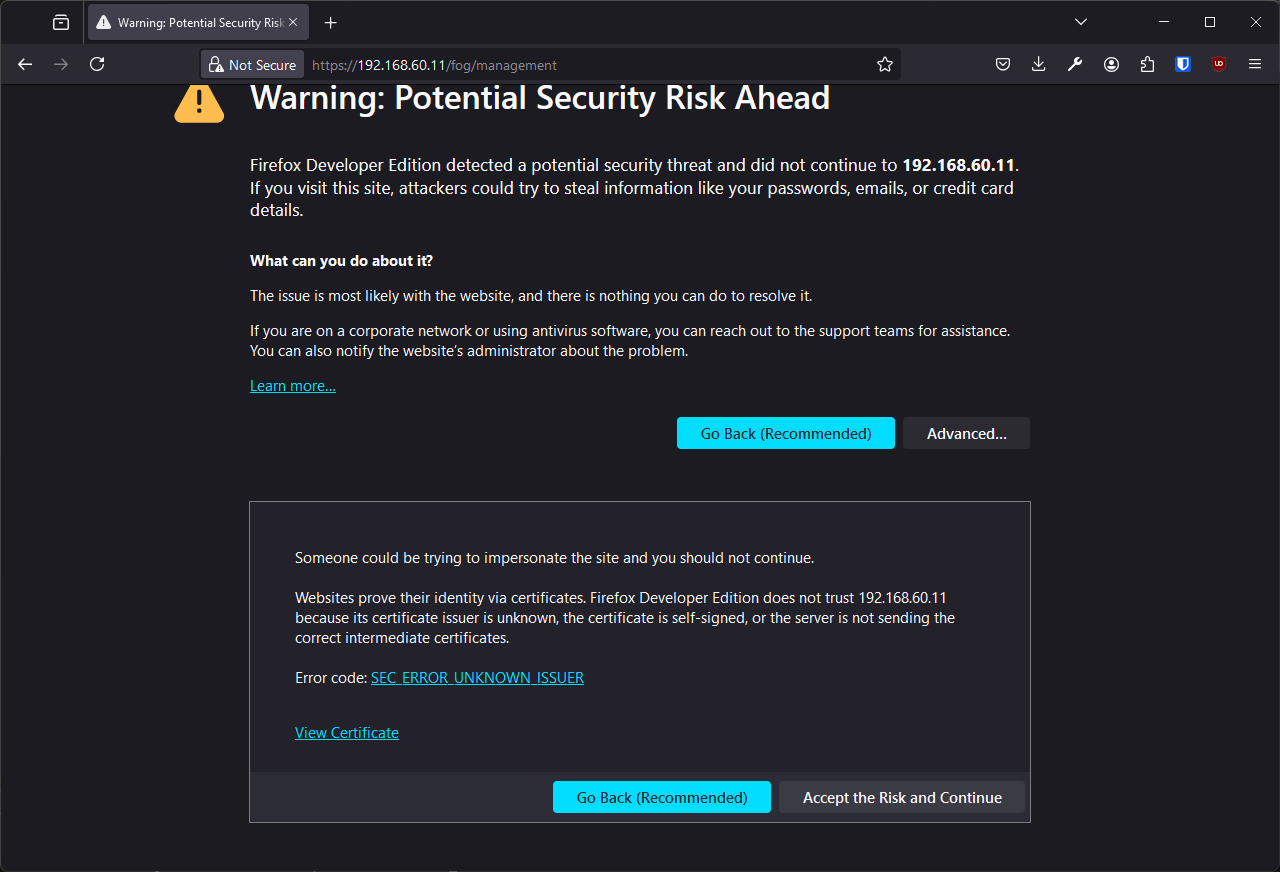
Since it is for my local private network and just a lab, I did not set proper HTTPS certificates on FOG server. Using the default self signed key.
-
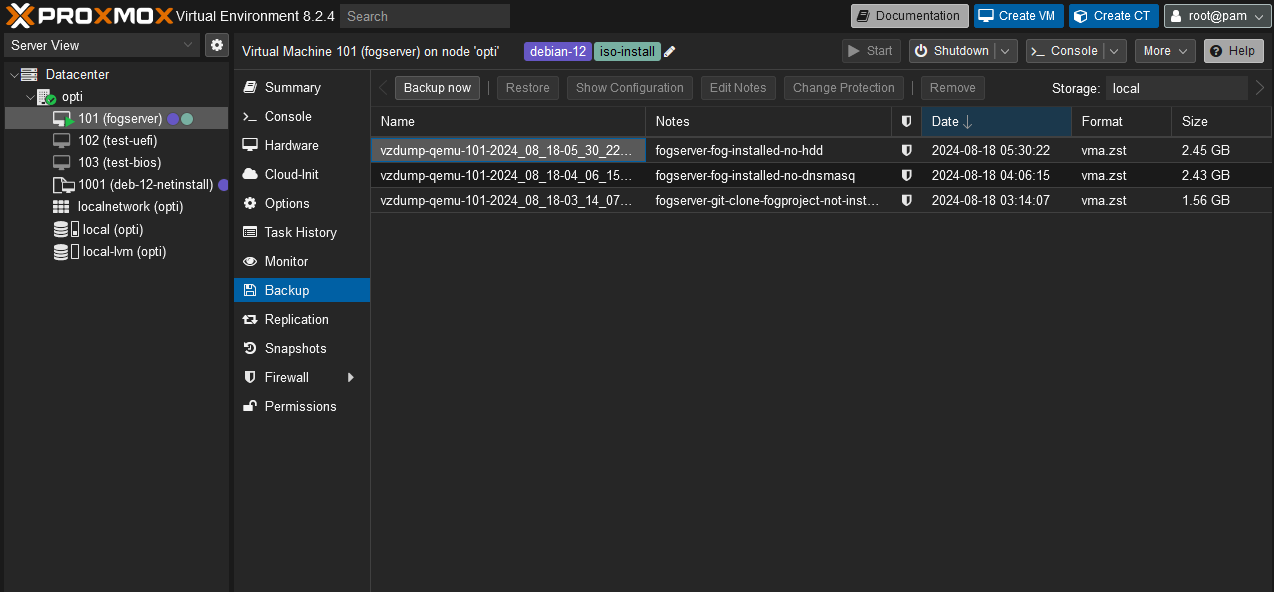
Fog is installed on a VM, some would consider this as Chicken or the egg problem. But it really is just compute virtualization on this instance. That way I can take intermediary backups during installation, or afterwards.
-
Changing the IP of the server is cumbersome, thus I store backups on a seperate HDD.
-
FOG seems to be stable and used among K12 circles, however, it is not the most active project. And I don’t know if it will catch up with ARM64 machines to come in this decade. But hey, let’s not optimize early.
-
Might get obselete when Veeam starts supporting my hypervisor of choice, Proxmox VE. Stil this bad boy is more than just a backup tool, especially on Windows.
-
Interestingly, this setup works with physical devices (both BIOS and UEFI).
However, SeaBIOS VM can not boot from disk.SeaBIOS works out of the box, I needed to enable boot option from the disk, wild I know. OVMF (UEFI) also works, I needed to disable Secure Boot.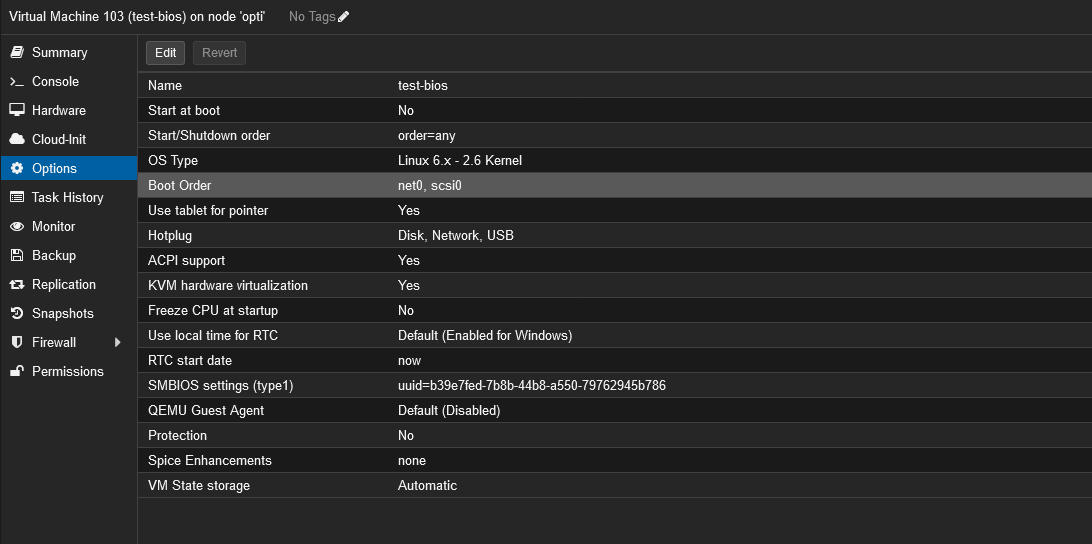
-
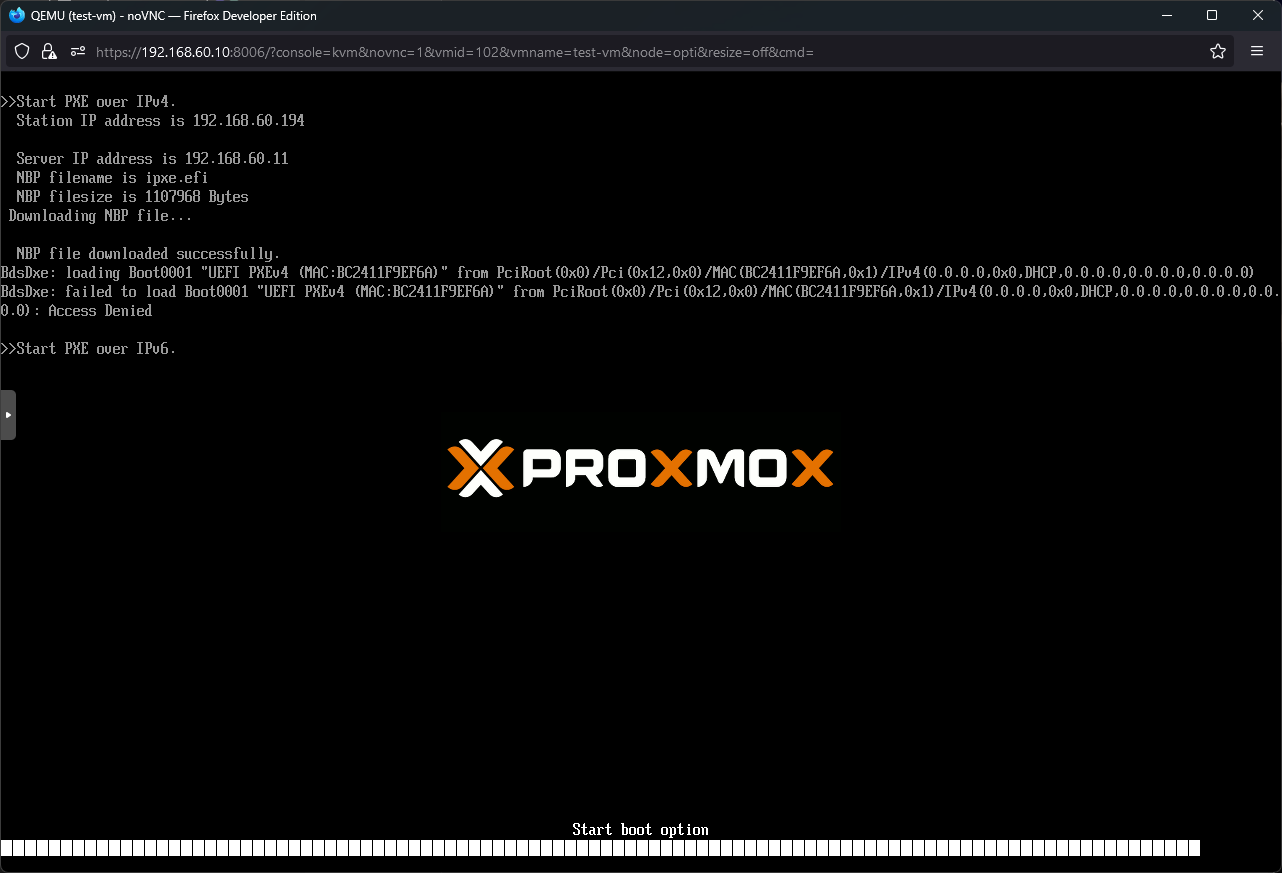
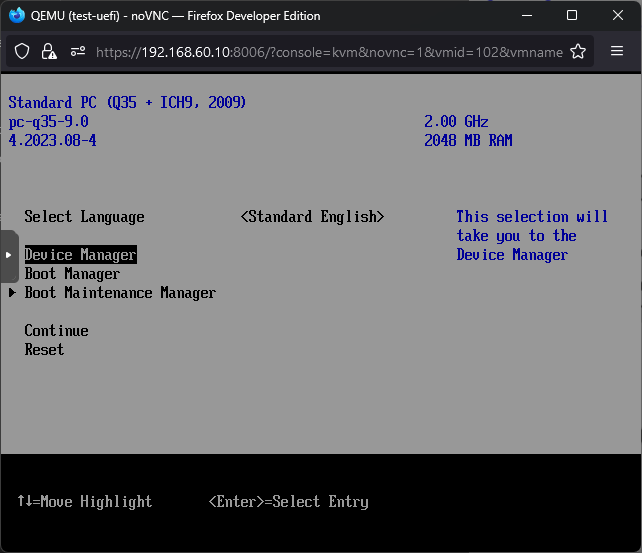
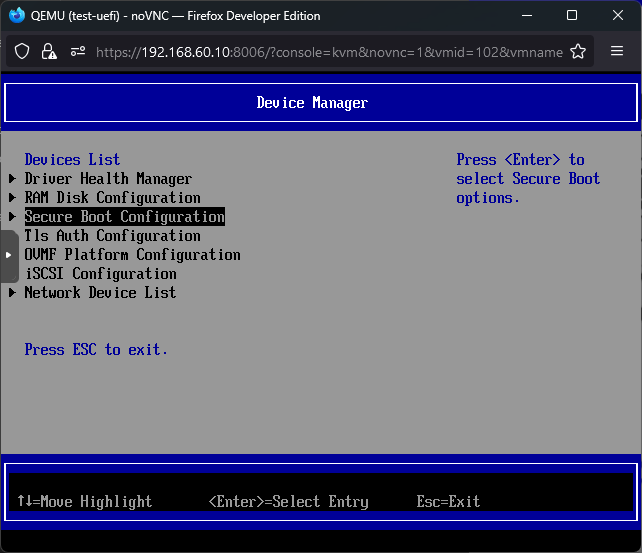
Also UEFI VM cannot boot off of iPXE due to Secure Boot being enabled. Again, since this is a lab I do not mind, but this is something to consider. By the way, one can change OVMF file to disable secure boot on KVM, and thus Proxmox.

-
Screenshots are from VM, however, they are meant for bare-metal hosts.
Prerequisites
-
A classical Debian net-install
This is so that the OS can be easily moved onto a bare-metal machine via Clonezilla if necessary.
-
Bridged or MacVTap Network Interface on Proxmox VE
This is so that, the VM is on the same LAN with the target nodes. This requirement is specific to running on a VM.
-
Static IP
DHCP reservation would technically work, but the configuration will be hard
coded, so set static IP under /etc/network/interfaces.
|
|
-
No VLAN tag
Apparently, some MSI consumer motherboards have VLAN settings within the BIOS, but that is the exception that proves the rule. Some network gurus could disagree, but the base infrastructure runs tagless over here.
Mount Secondary Storage In-place
Images are recorded under the path /images. And
as suggested in the docs, mounting a separate storage into there is valid
as long as files, if any, are moved.
If one is mounting after the installation, rsync in archive mode can be used,
to ensure file permissions and ownership does not change (e.g.
rsync -aP /images/ /mnt/hdd-tmp/). After this, /etc/fstab can be modified
and applied with mount -a.
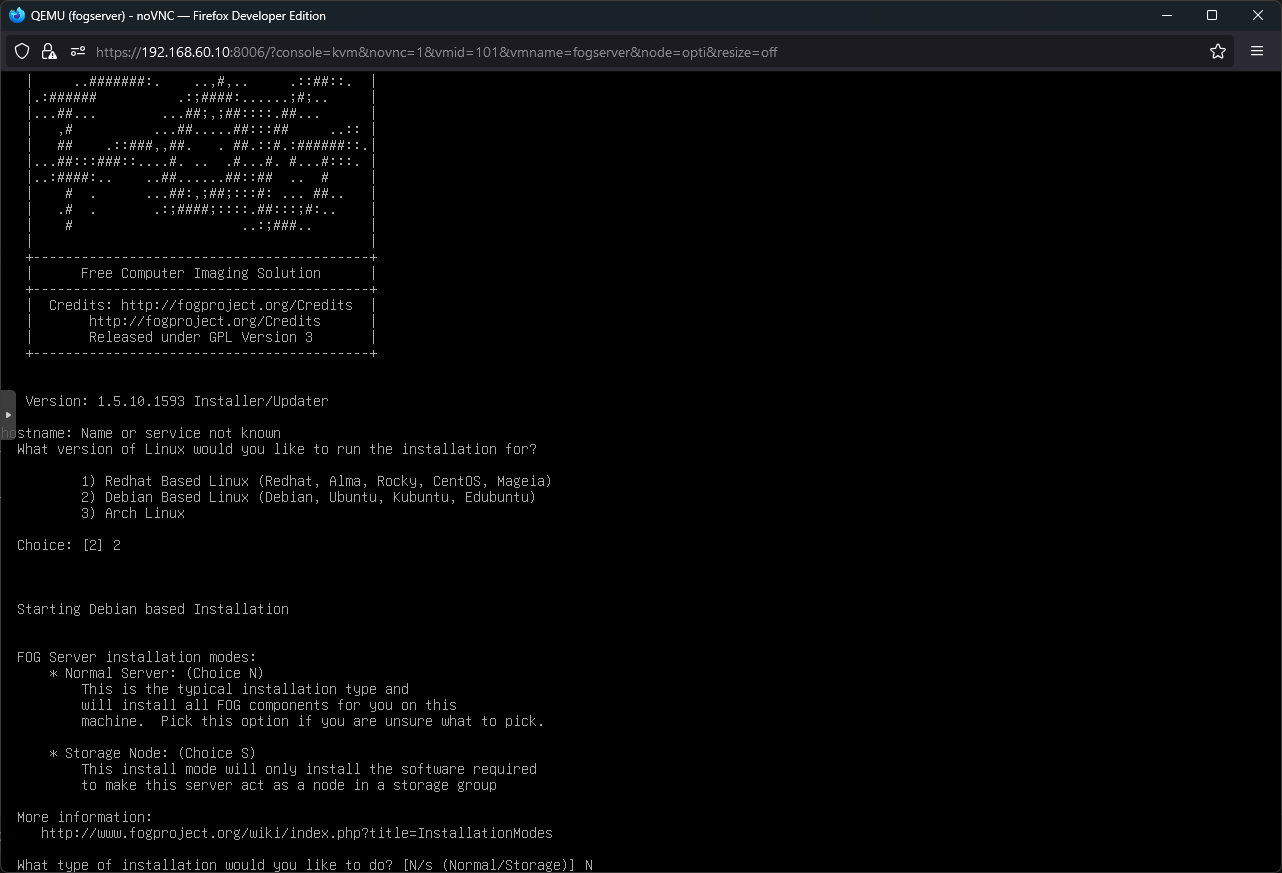
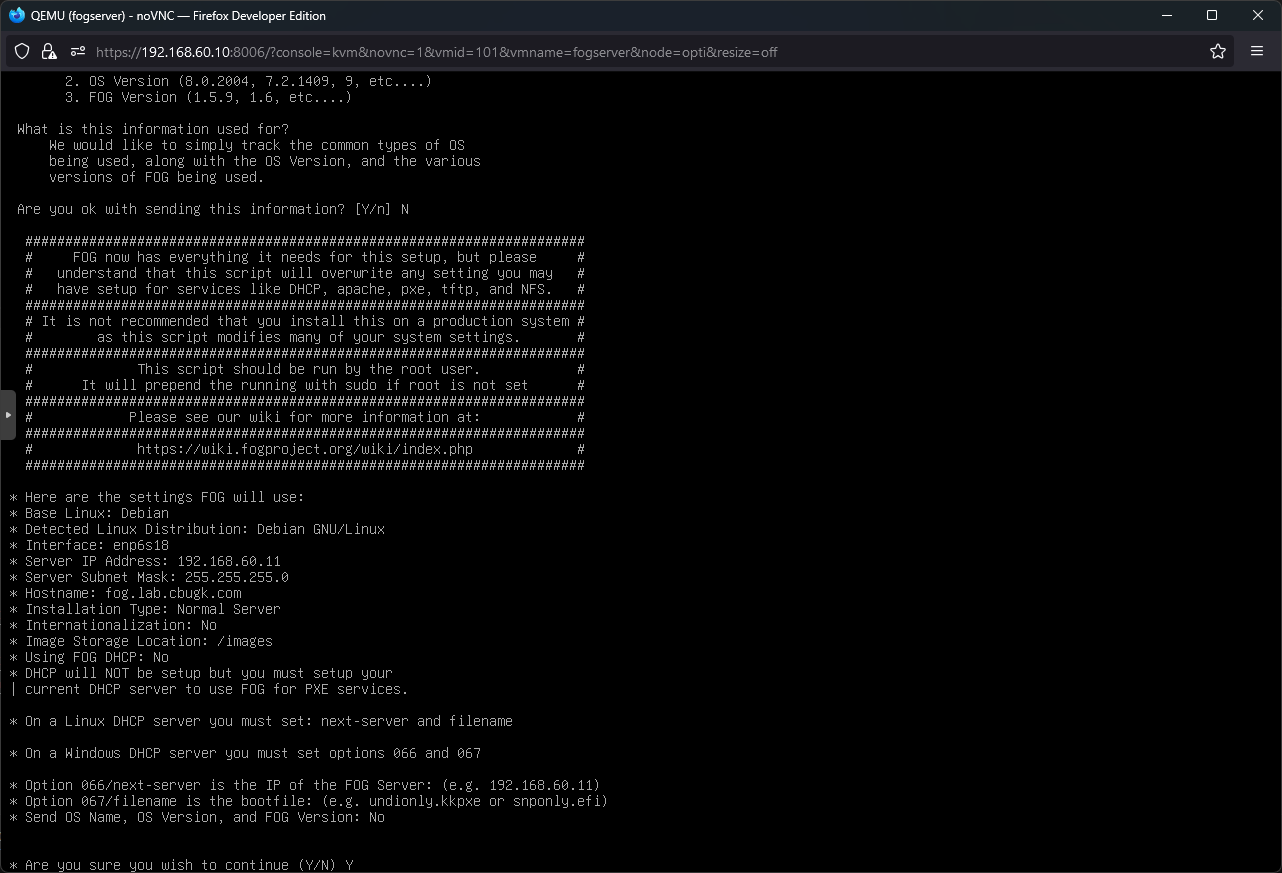
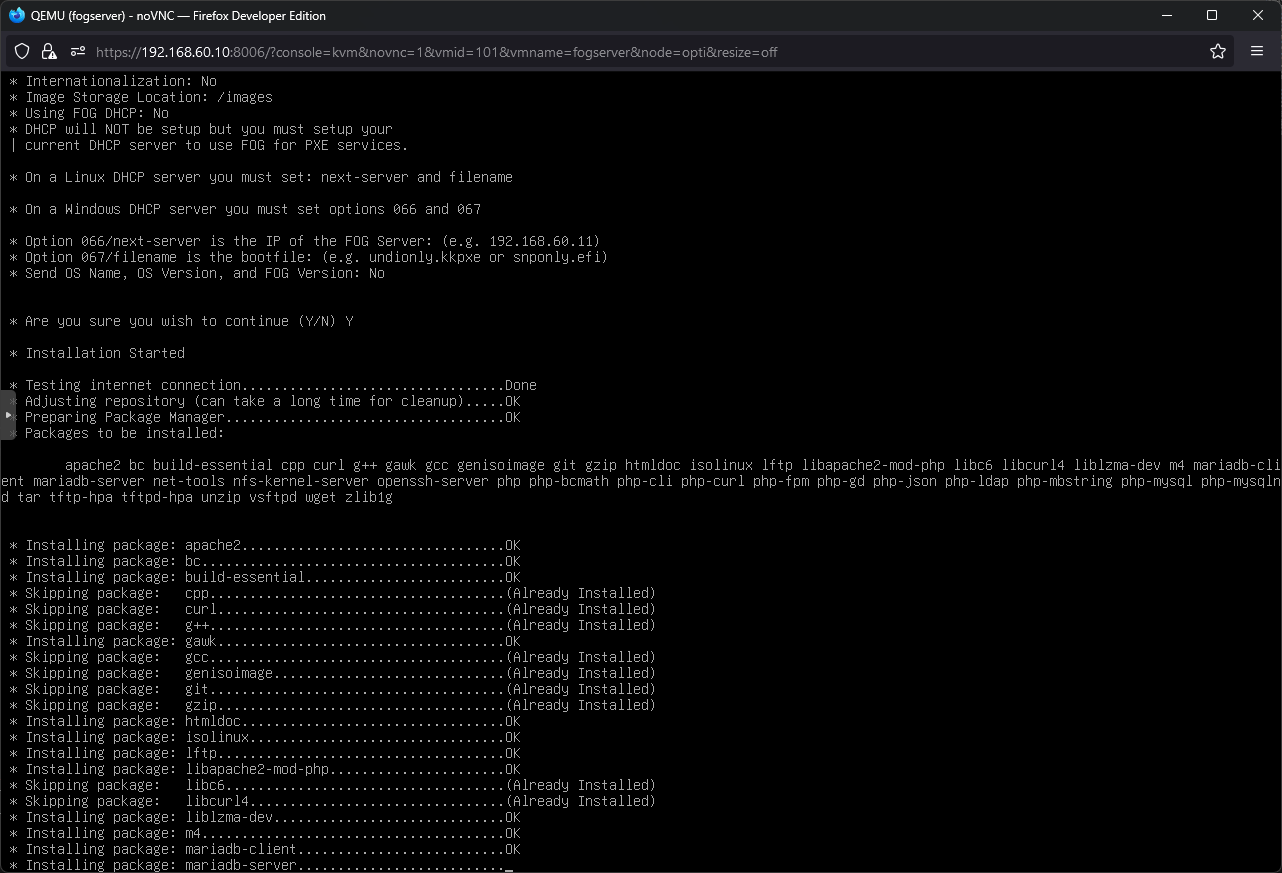
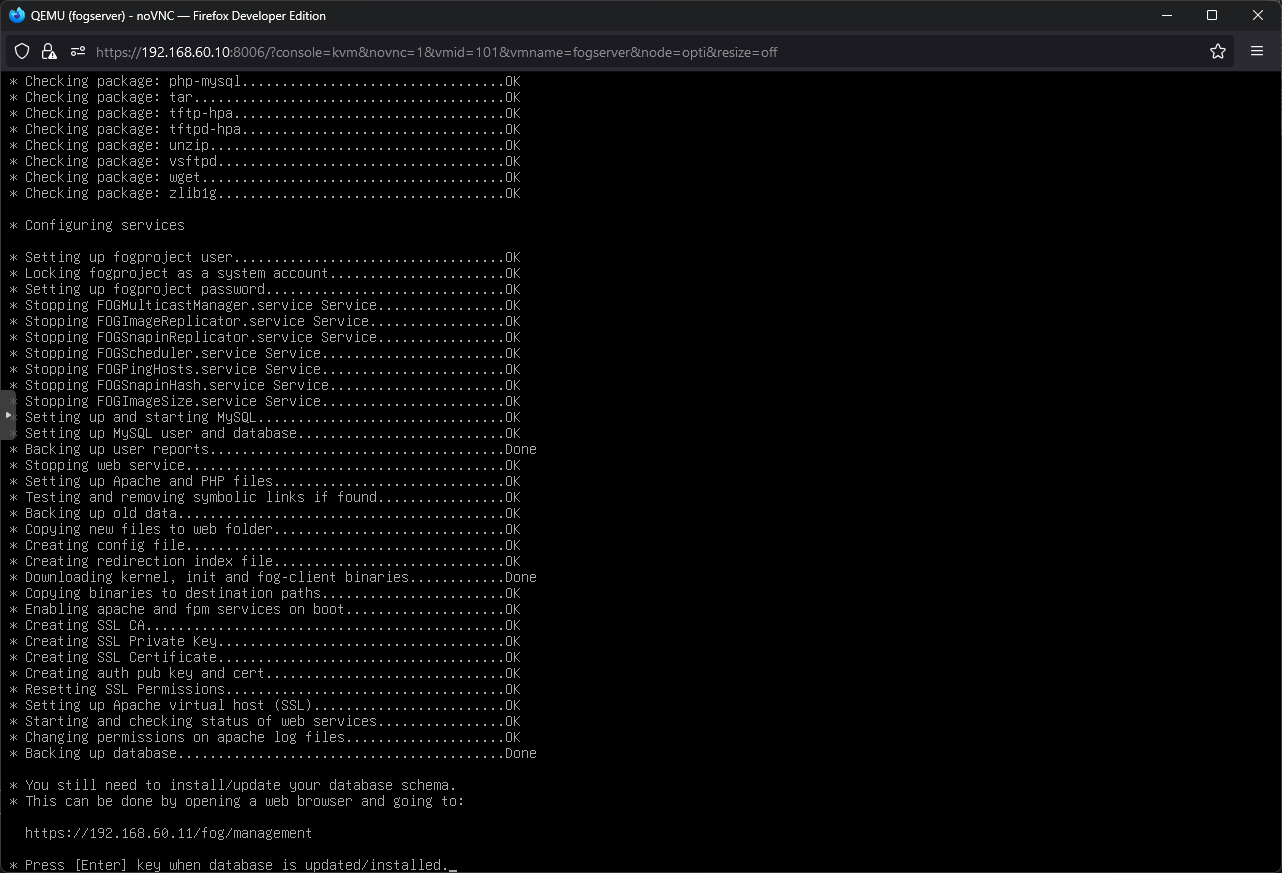
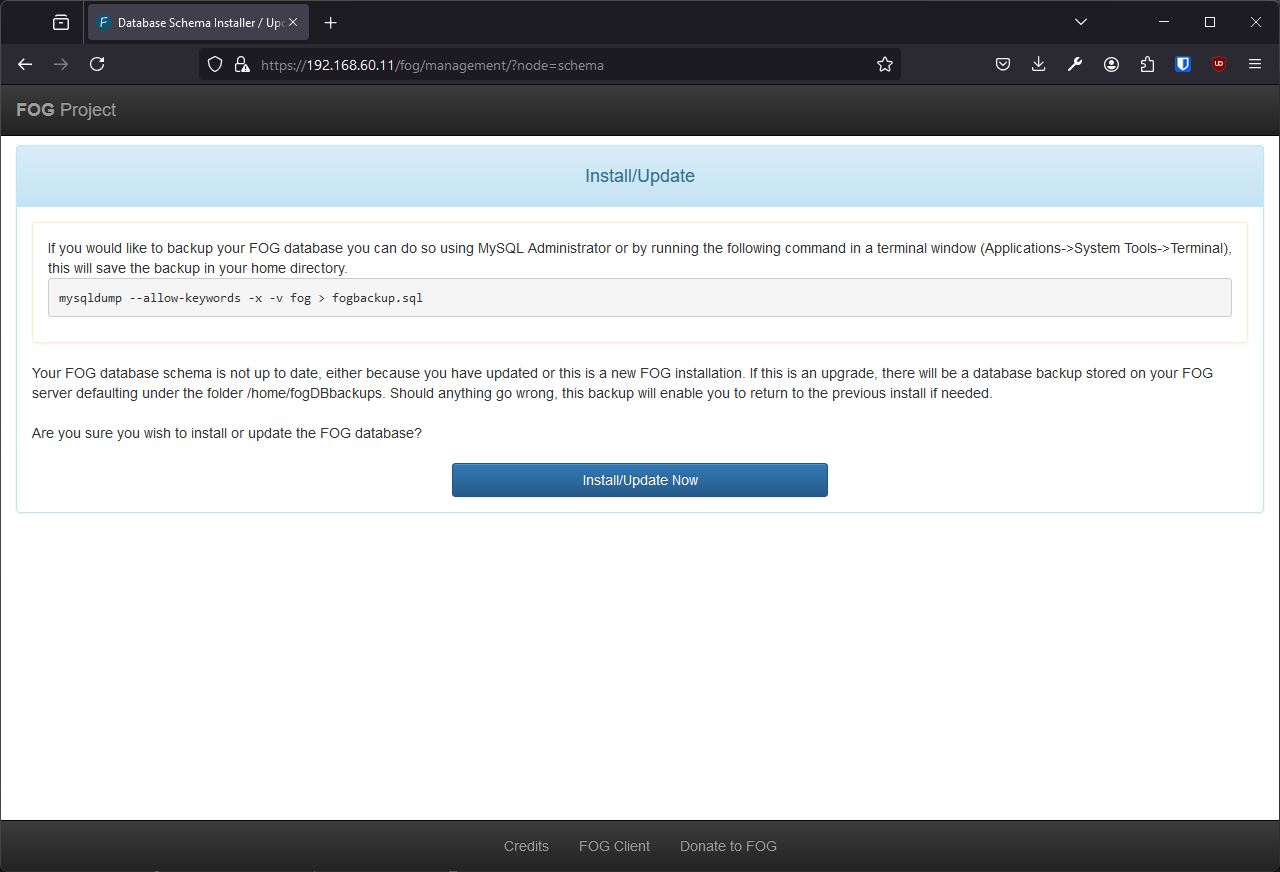
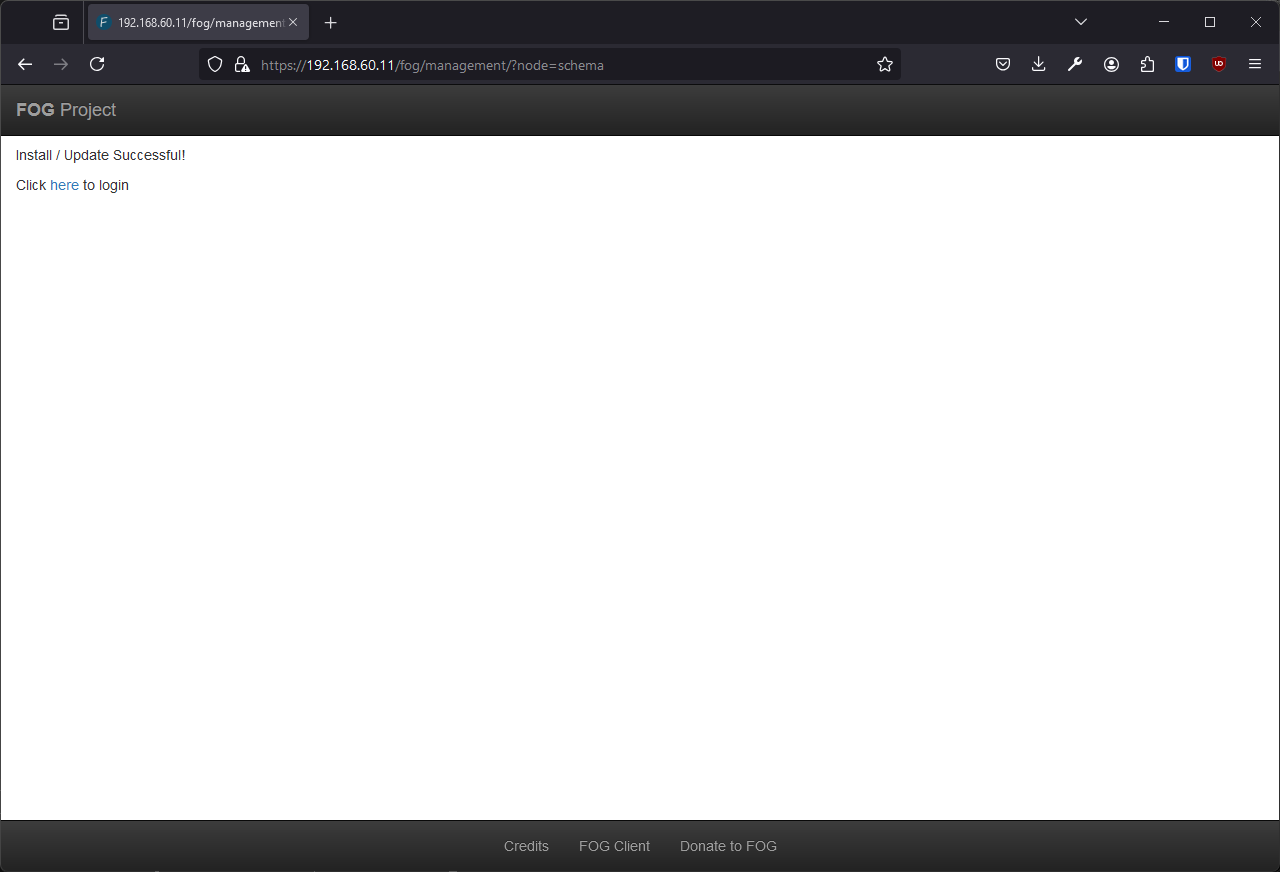
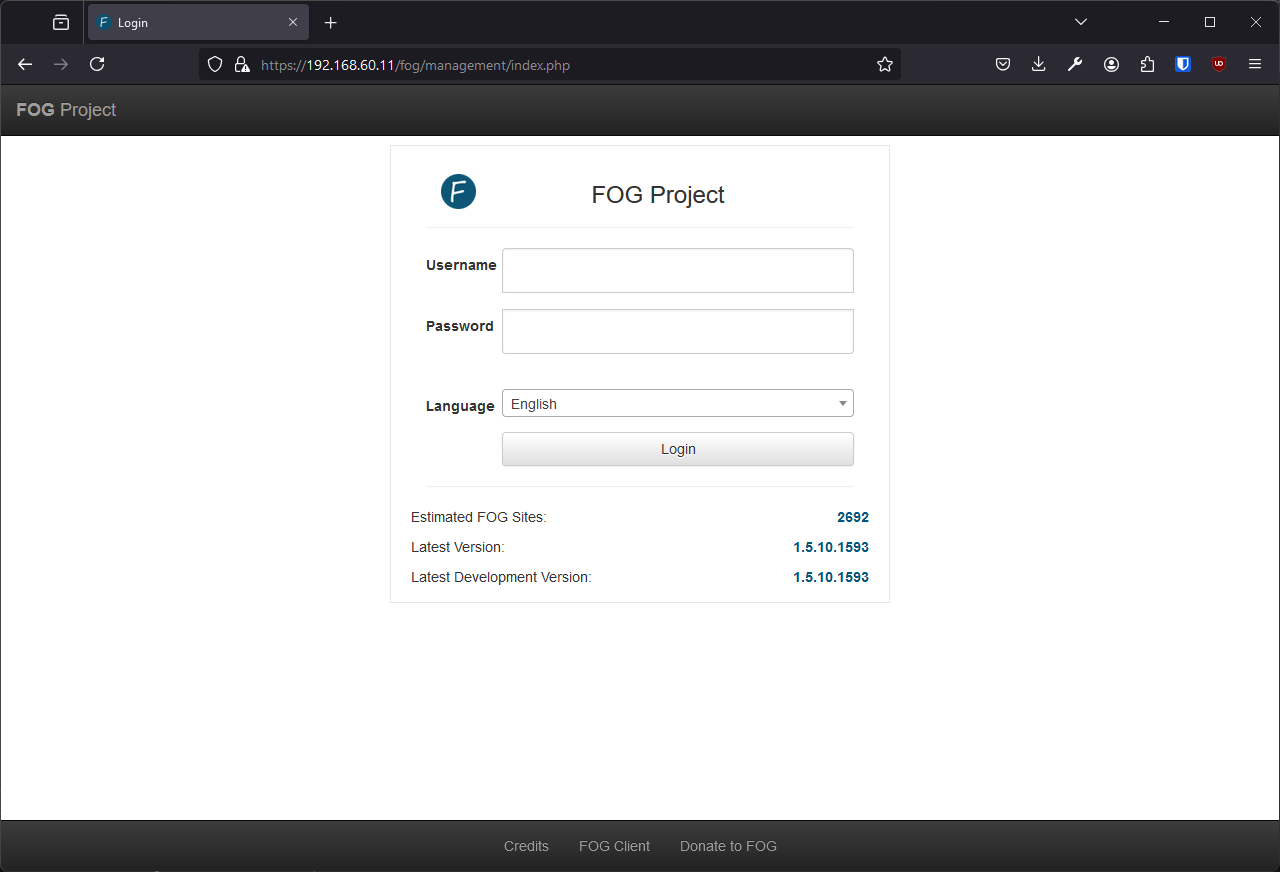
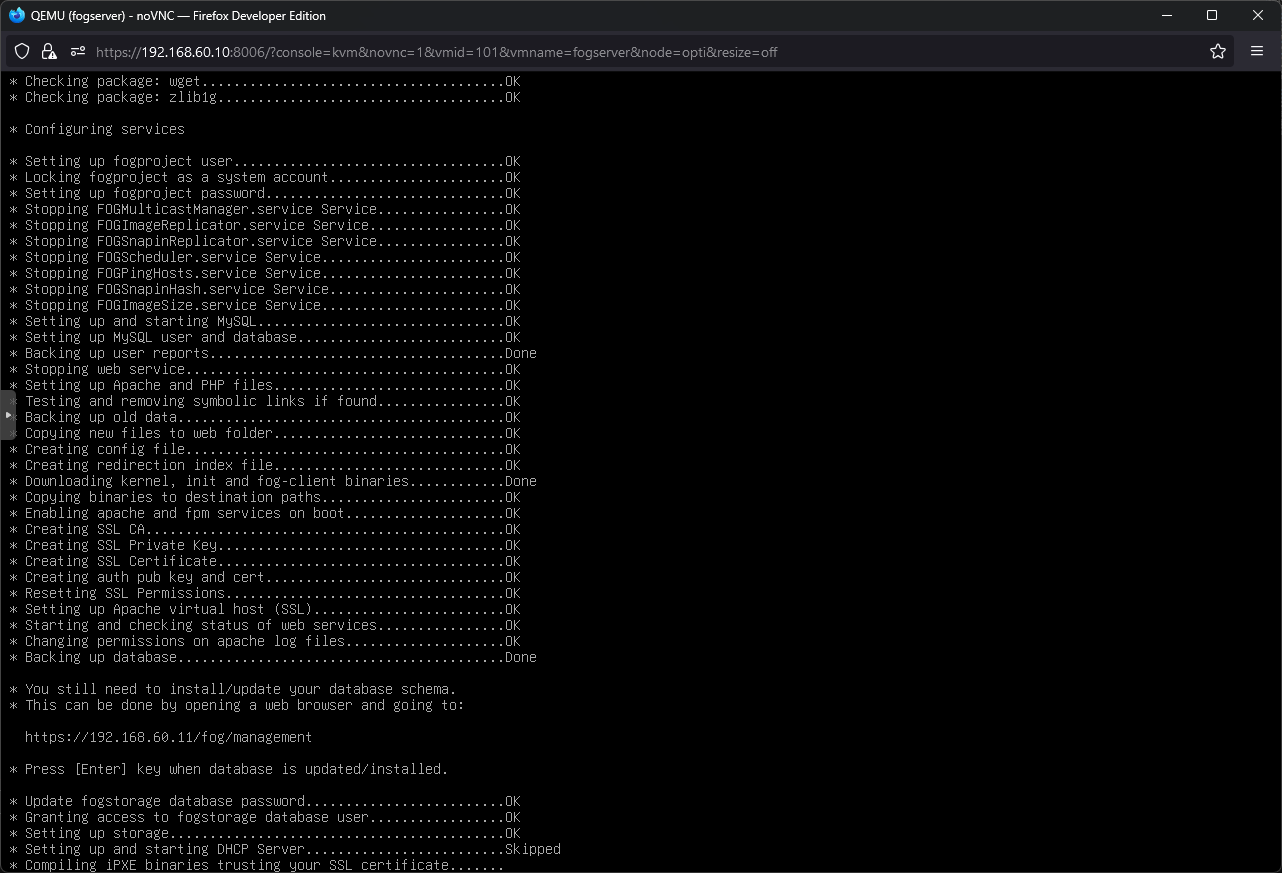
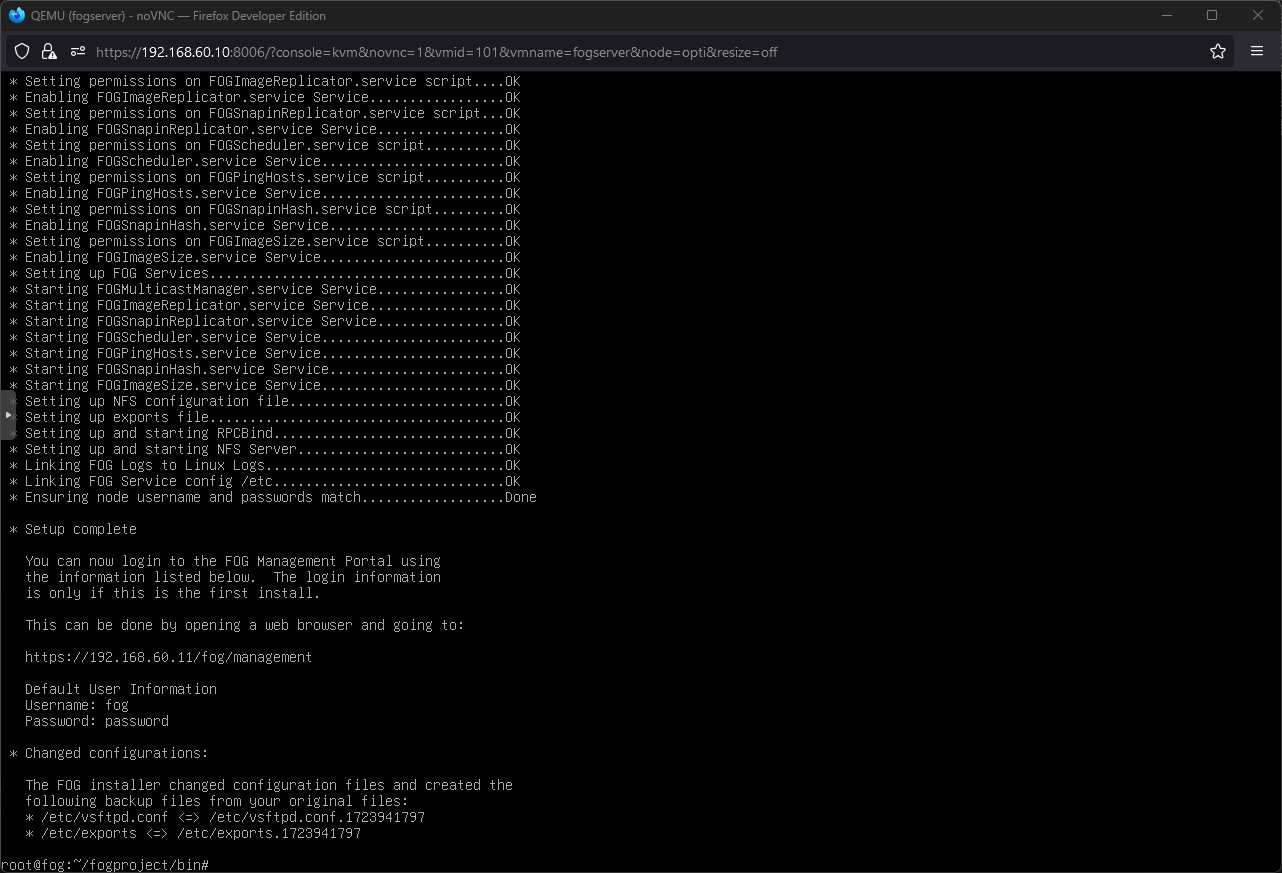
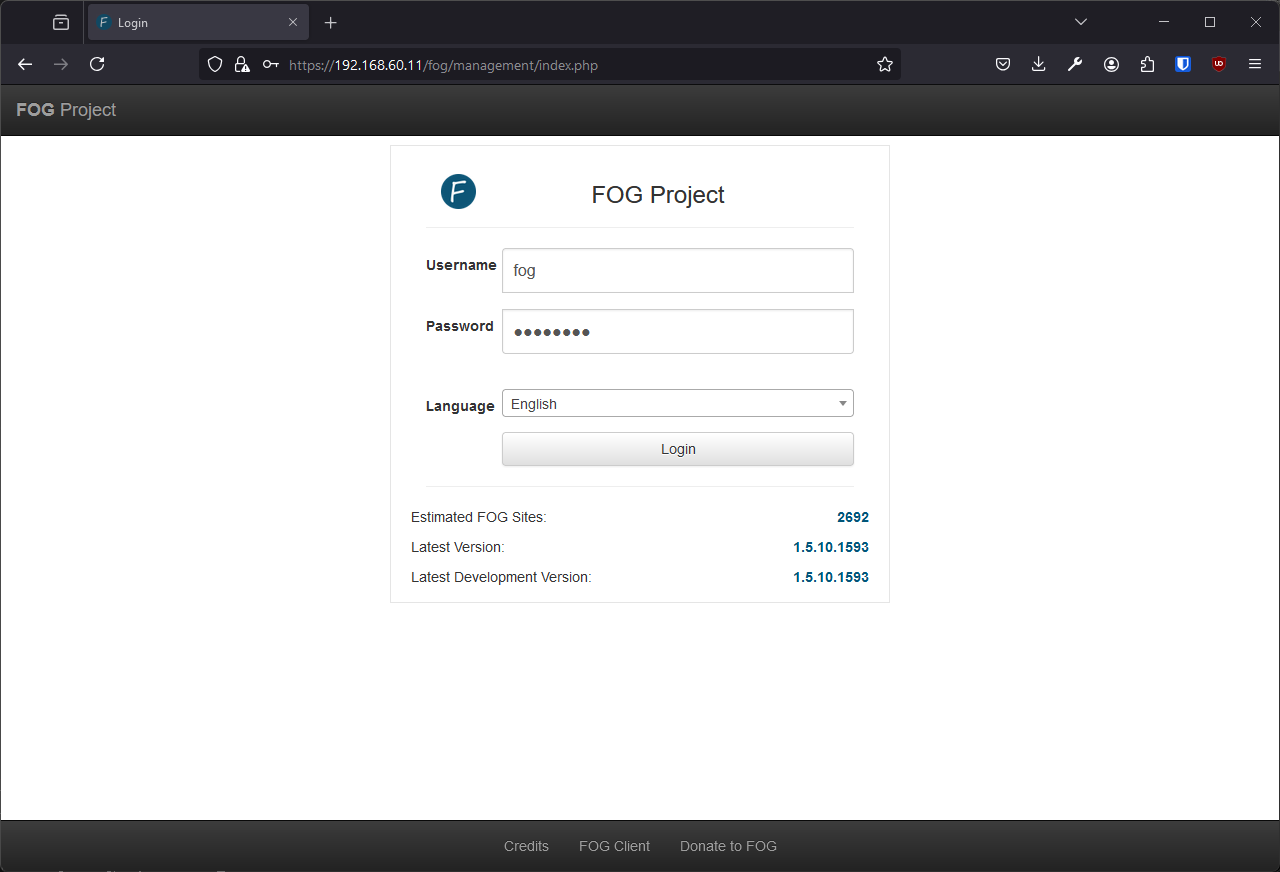
Install FOG Server
See Screenshots part for images.
As per the official guide and github issue about compiling iPXE:
|
|
|
|
Questionairre:
|
|
Install Proxy DHCP
As per this wiki page:
-
Install dnsmasq:
1sudo -i1apt-get -y install dnsmasq -
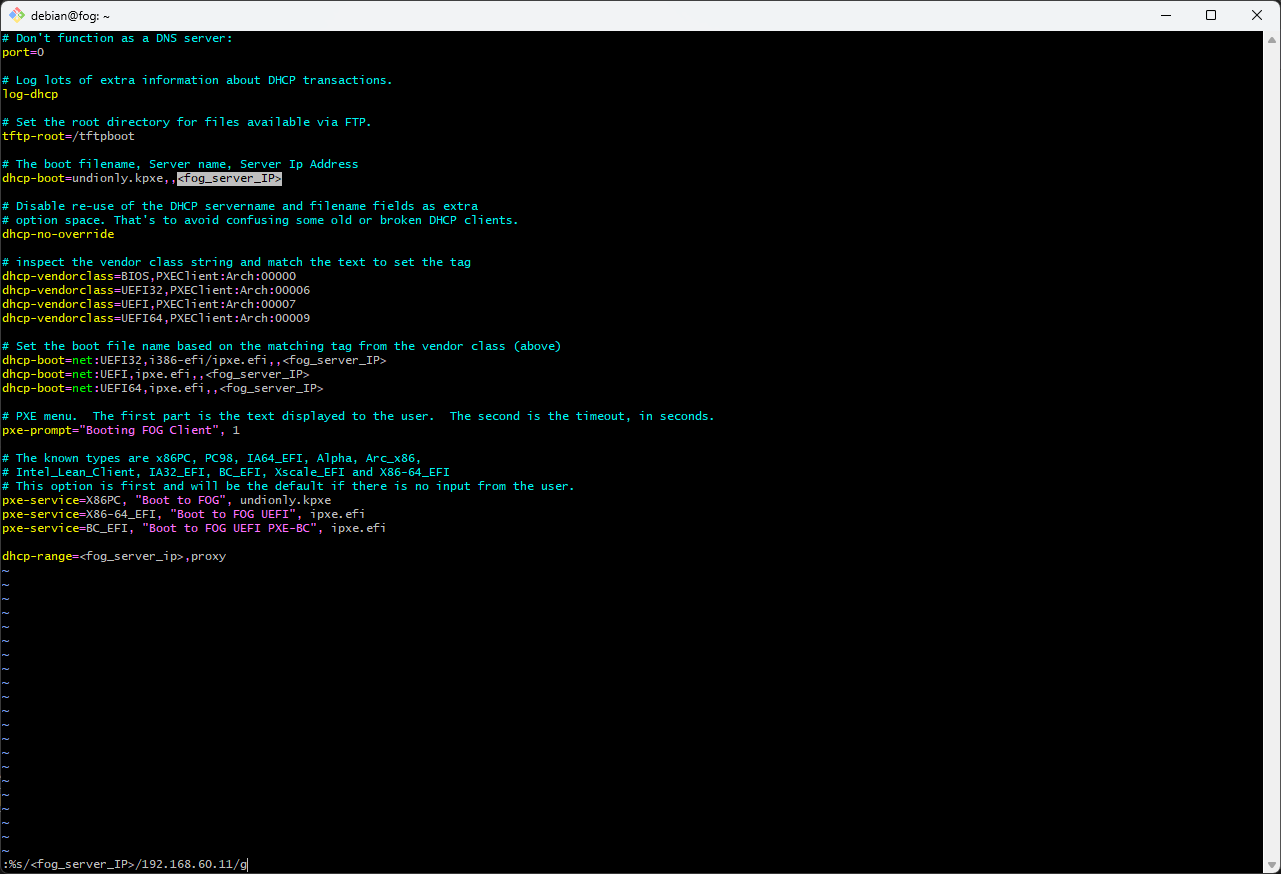
Paste following into
/etc/dnsmasq.d/fog.conf(extention must be exact):1 2 3 4 5 6 7 8 9 10 11 12 13 14 15 16 17 18 19 20 21 22 23 24 25 26 27 28 29 30 31 32 33 34 35 36 37 38# Don't function as a DNS server: port=0 # Log lots of extra information about DHCP transactions. log-dhcp # Set the root directory for files available via FTP. tftp-root=/tftpboot # The boot filename, Server name, Server Ip Address dhcp-boot=undionly.kpxe,,<fog_server_IP> # Disable re-use of the DHCP servername and filename fields as extra # option space. That's to avoid confusing some old or broken DHCP clients. dhcp-no-override # inspect the vendor class string and match the text to set the tag dhcp-vendorclass=BIOS,PXEClient:Arch:00000 dhcp-vendorclass=UEFI32,PXEClient:Arch:00006 dhcp-vendorclass=UEFI,PXEClient:Arch:00007 dhcp-vendorclass=UEFI64,PXEClient:Arch:00009 # Set the boot file name based on the matching tag from the vendor class (above) dhcp-boot=net:UEFI32,i386-efi/ipxe.efi,,<fog_server_IP> dhcp-boot=net:UEFI,ipxe.efi,,<fog_server_IP> dhcp-boot=net:UEFI64,ipxe.efi,,<fog_server_IP> # PXE menu. The first part is the text displayed to the user. The second is the timeout, in seconds. pxe-prompt="Booting FOG Client", 1 # The known types are x86PC, PC98, IA64_EFI, Alpha, Arc_x86, # Intel_Lean_Client, IA32_EFI, BC_EFI, Xscale_EFI and X86-64_EFI # This option is first and will be the default if there is no input from the user. pxe-service=X86PC, "Boot to FOG", undionly.kpxe pxe-service=X86-64_EFI, "Boot to FOG UEFI", ipxe.efi pxe-service=BC_EFI, "Boot to FOG UEFI PXE-BC", ipxe.efi dhcp-range=<fog_server_ip>,proxy -
Replace both
<fog_server_ip>and<fog_server_IP>with the IP address (e.g.192.168.60.11) -
Start and enable dnsmasq via systemd:
1sudo -isystemctl restart dnsmasq.service systemctl enable dnsmasq.service
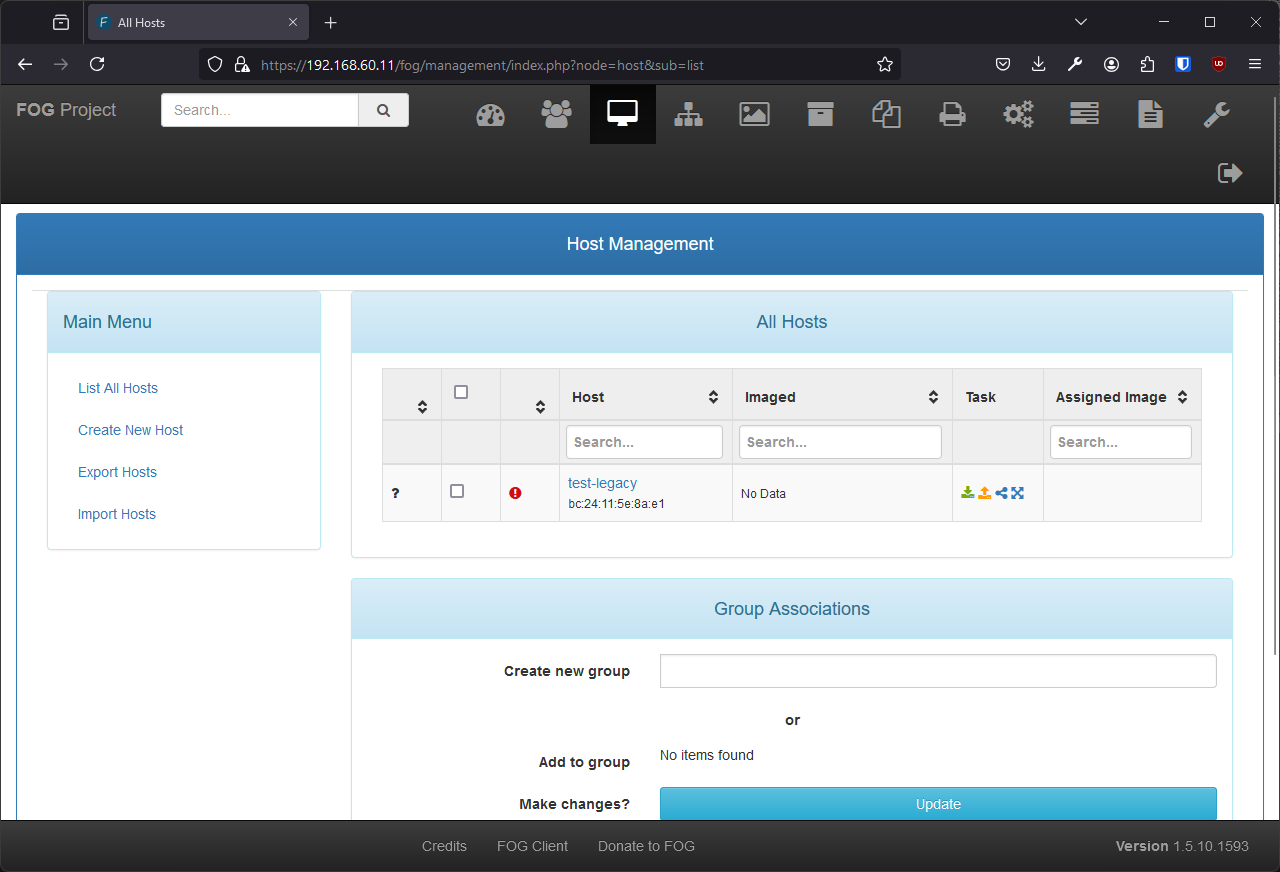
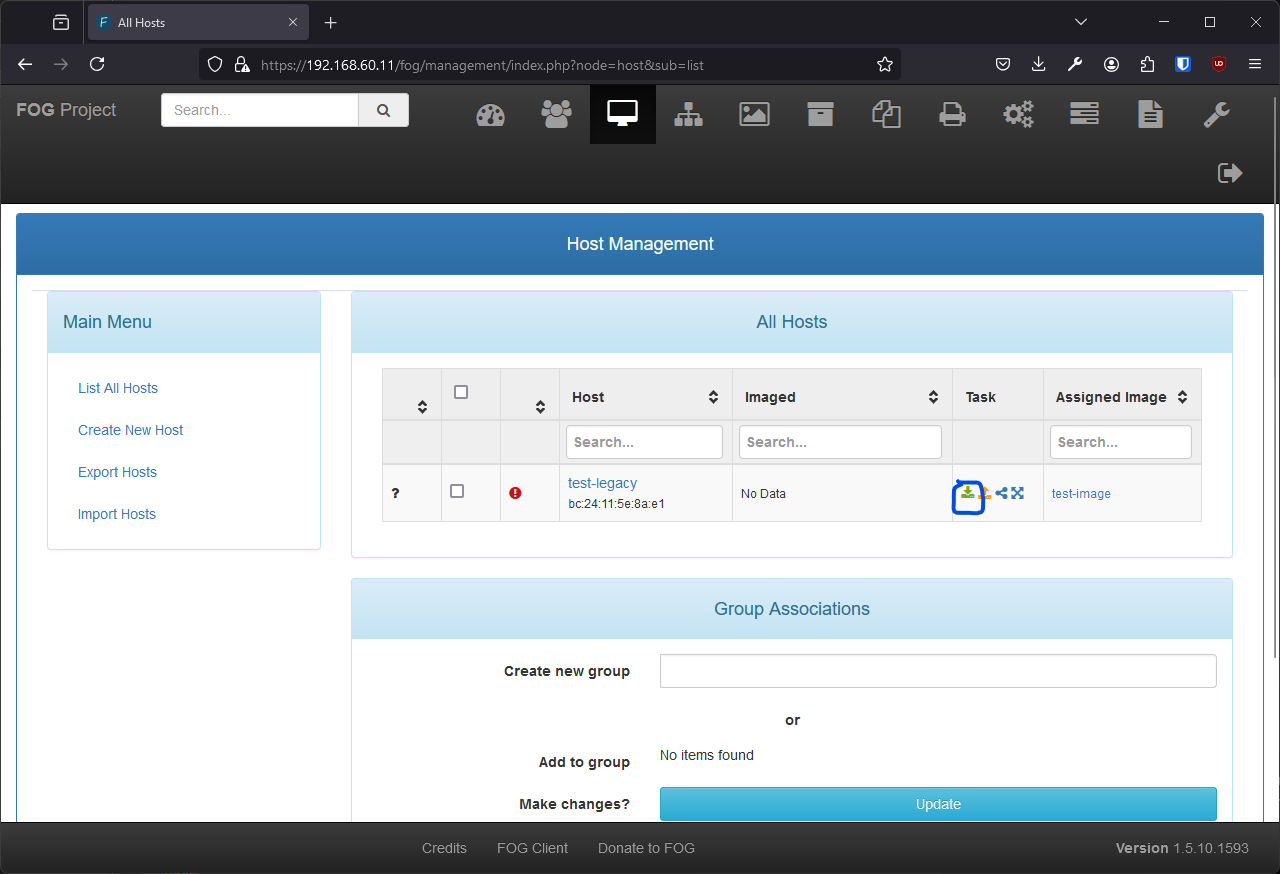
Register a Node
-
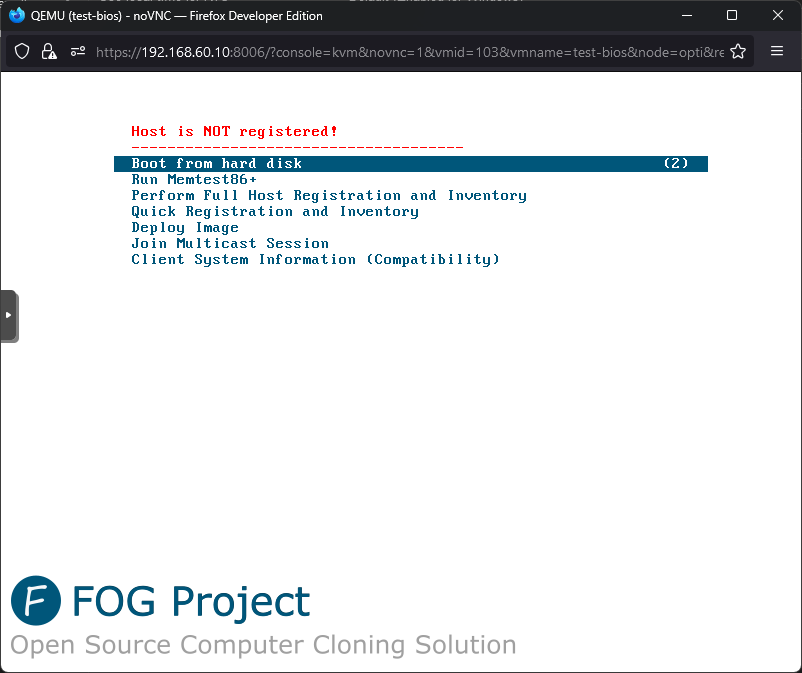
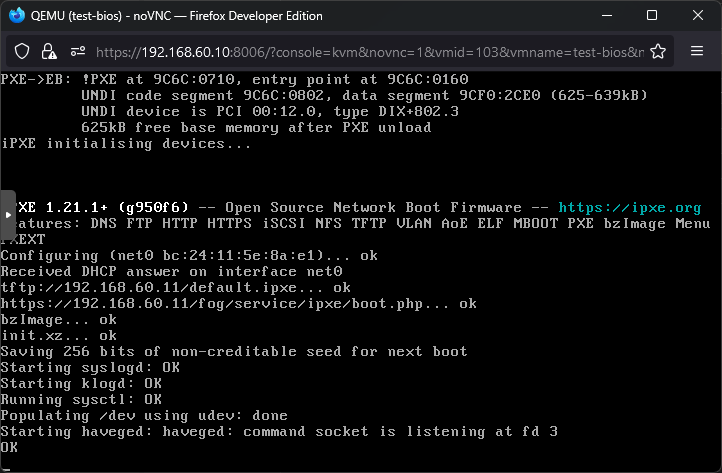
Register via iPXE using Quick Registration and Inventory is straight forward. Device name is set to MAC address of the used NIC as lowercase.

-
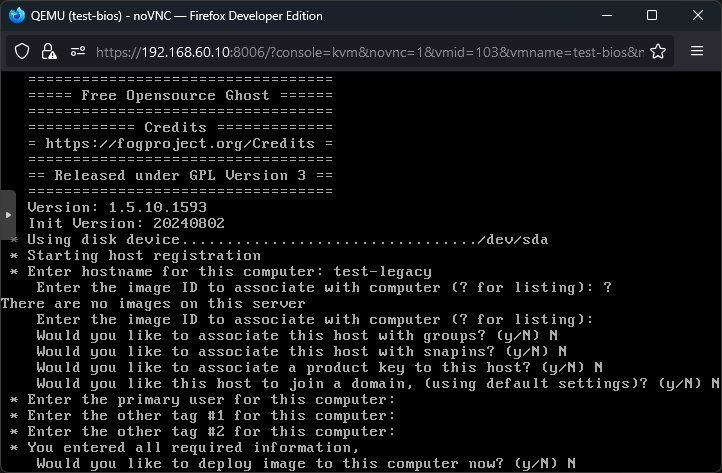
Alternatively, register via iPXE using Perform Full Host Registration and Inventory:
1 2 3 4 5 6 7 8 9 10 11 12 13 14 15 16 17 18 19 20Enter hostname fot this computer: test-legacy Enter the image ID to associate with computer: // leave empty Would you like to associate this host with groups? N Would you like to associate this host with spinins? N Would you like to associate a product key to this host? N Would you like this host to join a domain, (using default settings)? N Enter the primary user for this computer: // leave empty Enter the other tag #1 for this computer: // leave empty Enter the other tag #2 for this computer: // leave empty Would you like to deploy image to this computer now? N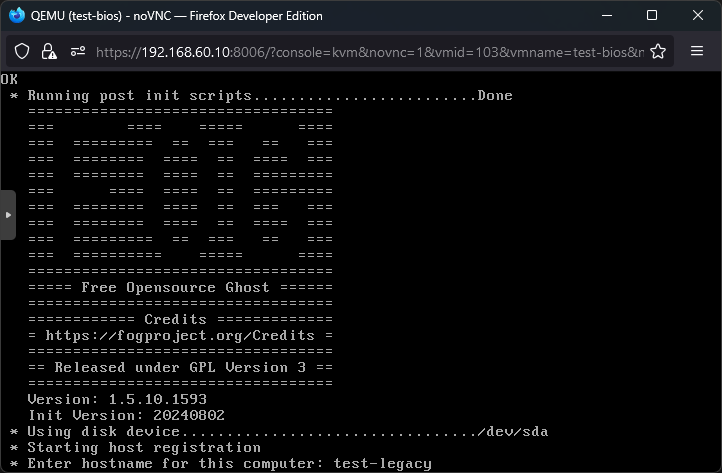
-
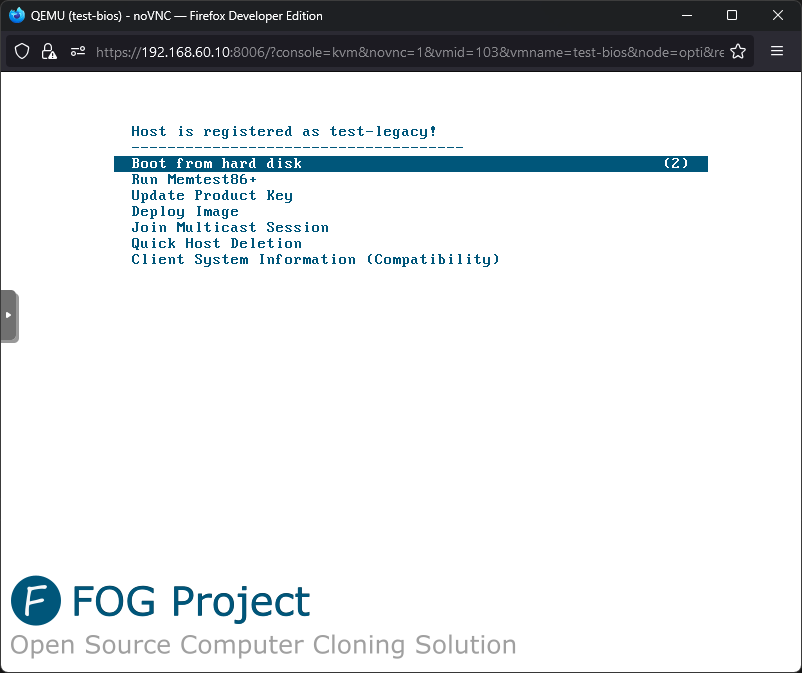
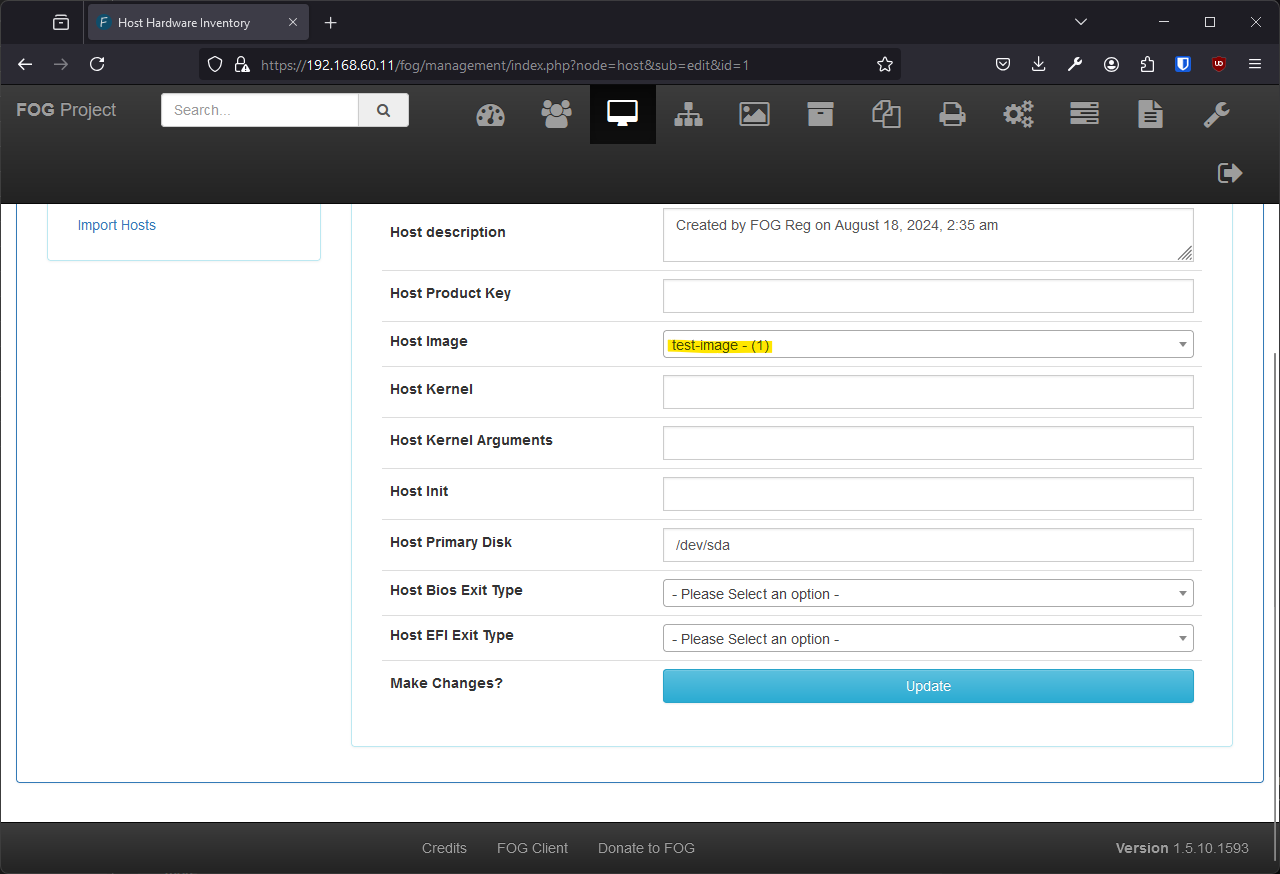
If cannot boot correct disk by default, edit Primary Disk, and Exit Type of registered host (was not necessary on bare metal for NVMe):
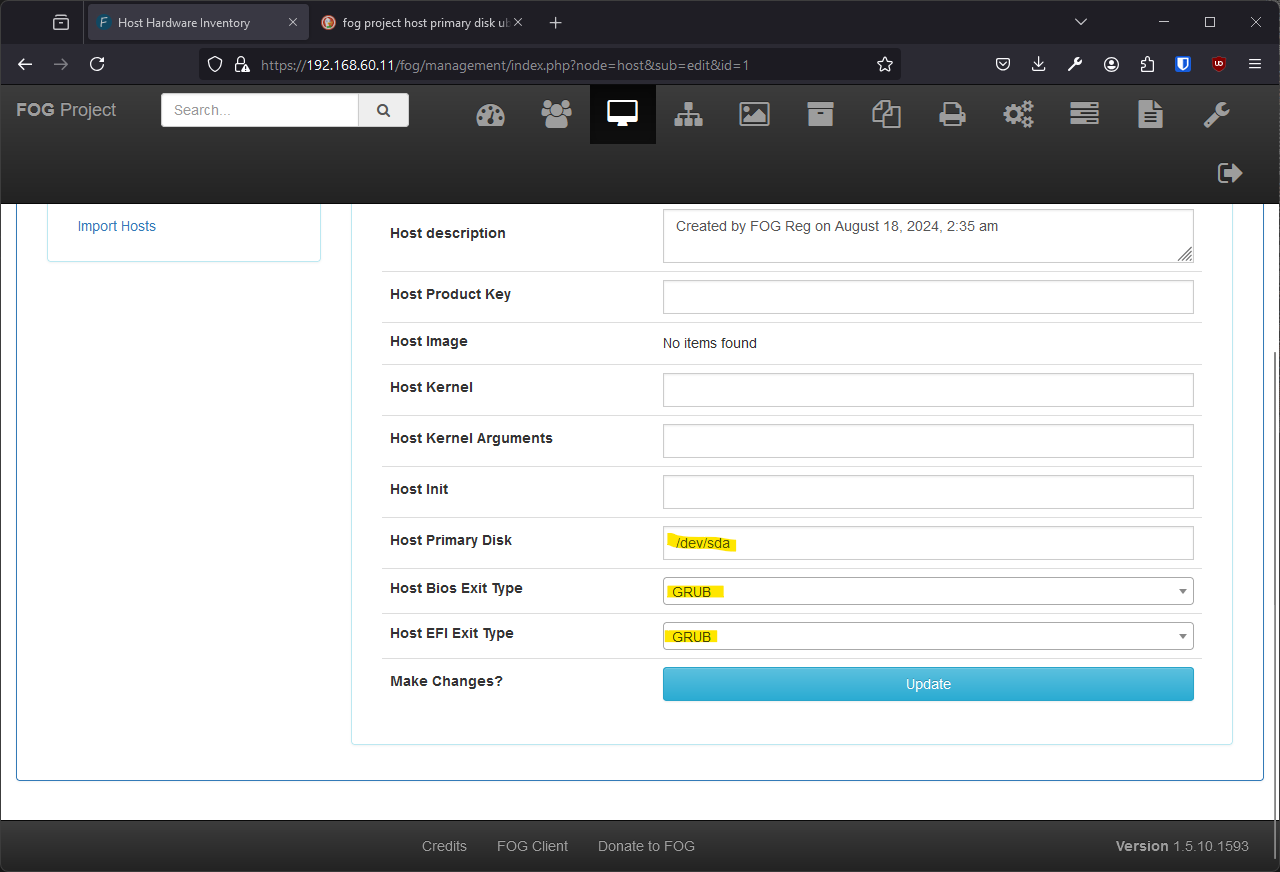
Unfortunately, Proxmox VM could not boot from disk in any combination. But it worked on physical machine somehow.Again, it was there being no other boot option enabled, this actually happens on my MSI boards too.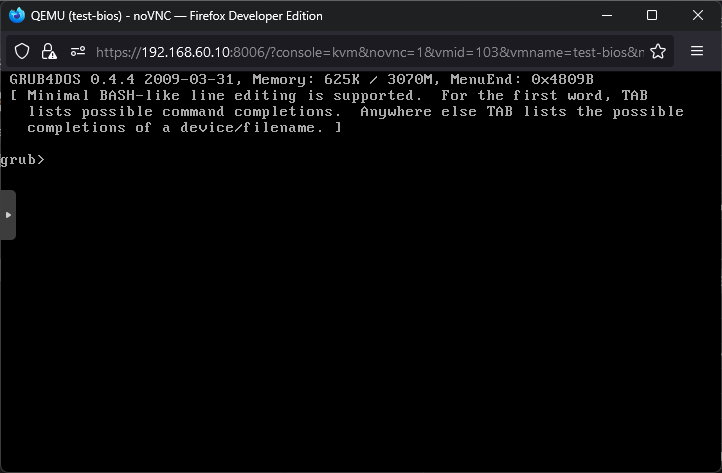
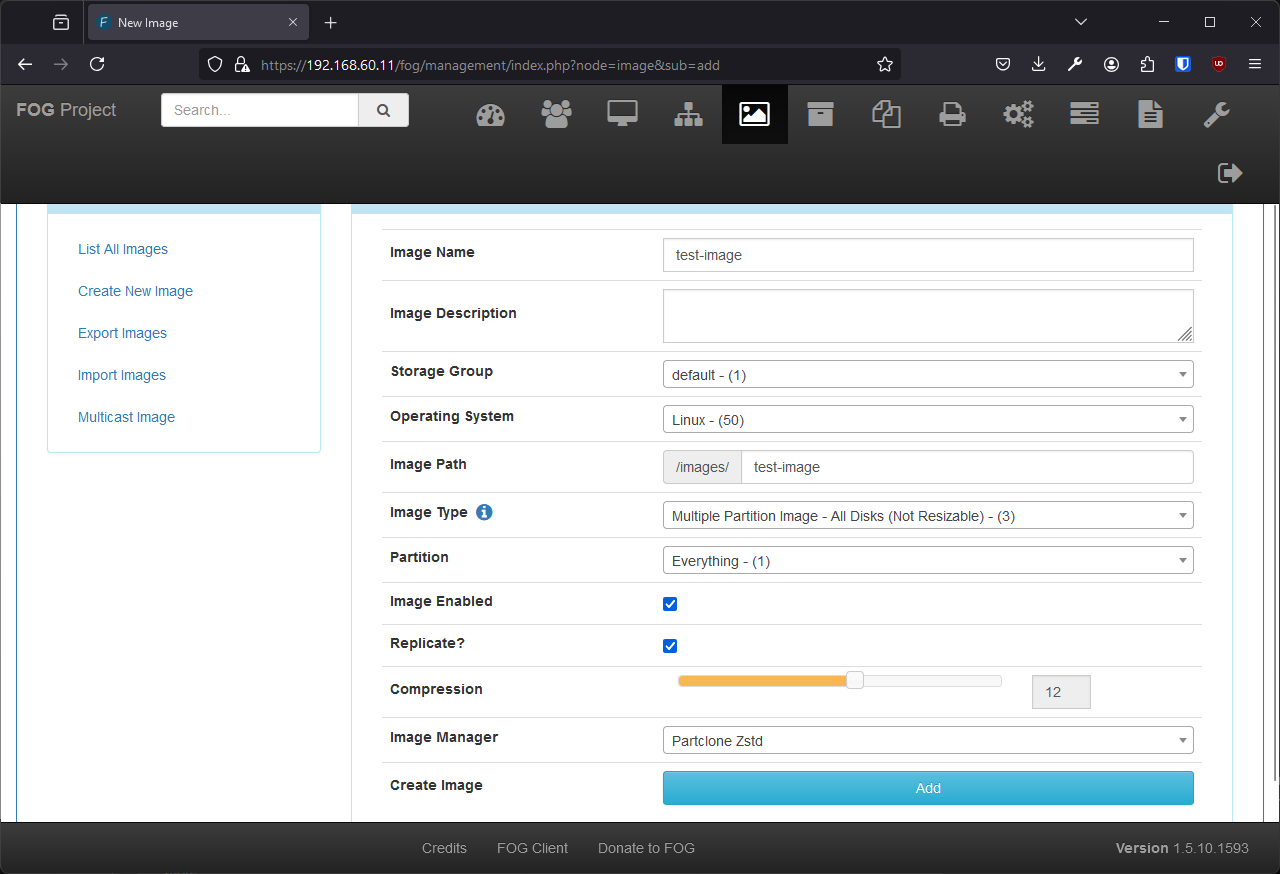
Create and Bind Image
To capture a computer’s disk, first an image must be selected for the host.
- Create new image:
- Bind image to host:
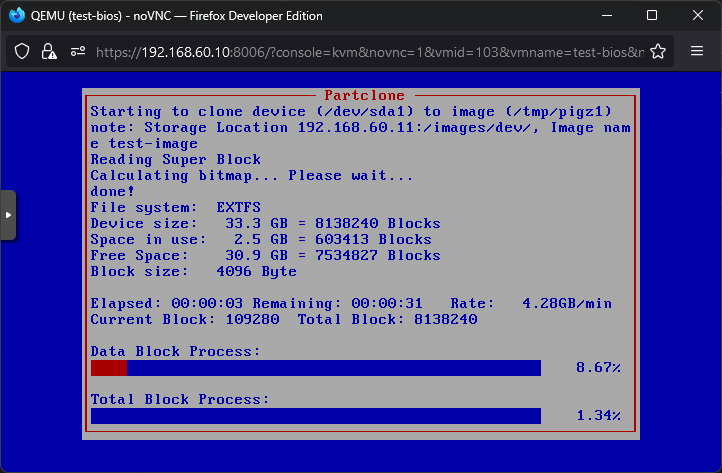
Take Node’s Backup
Having prepared a host-image pair:
- Start a task to capture a backup:

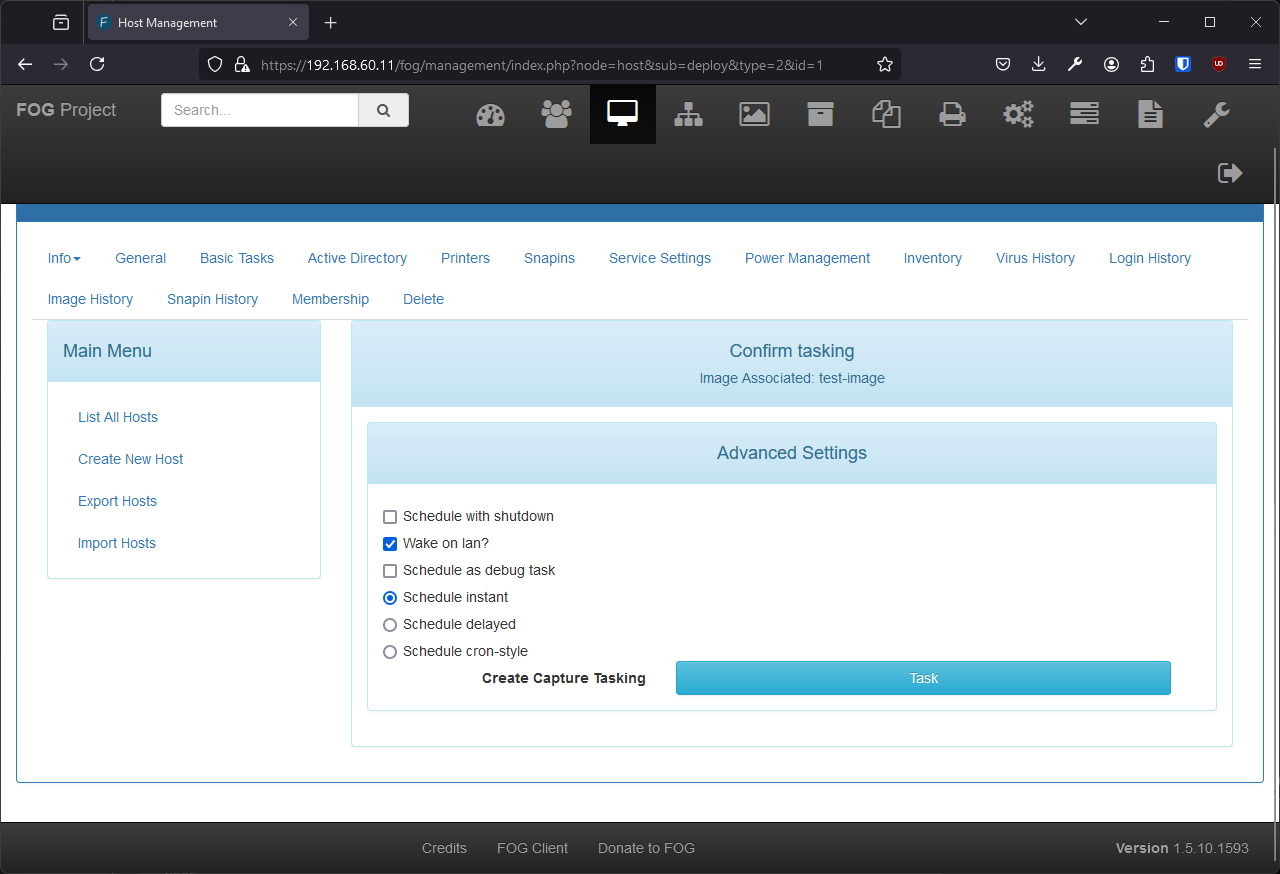
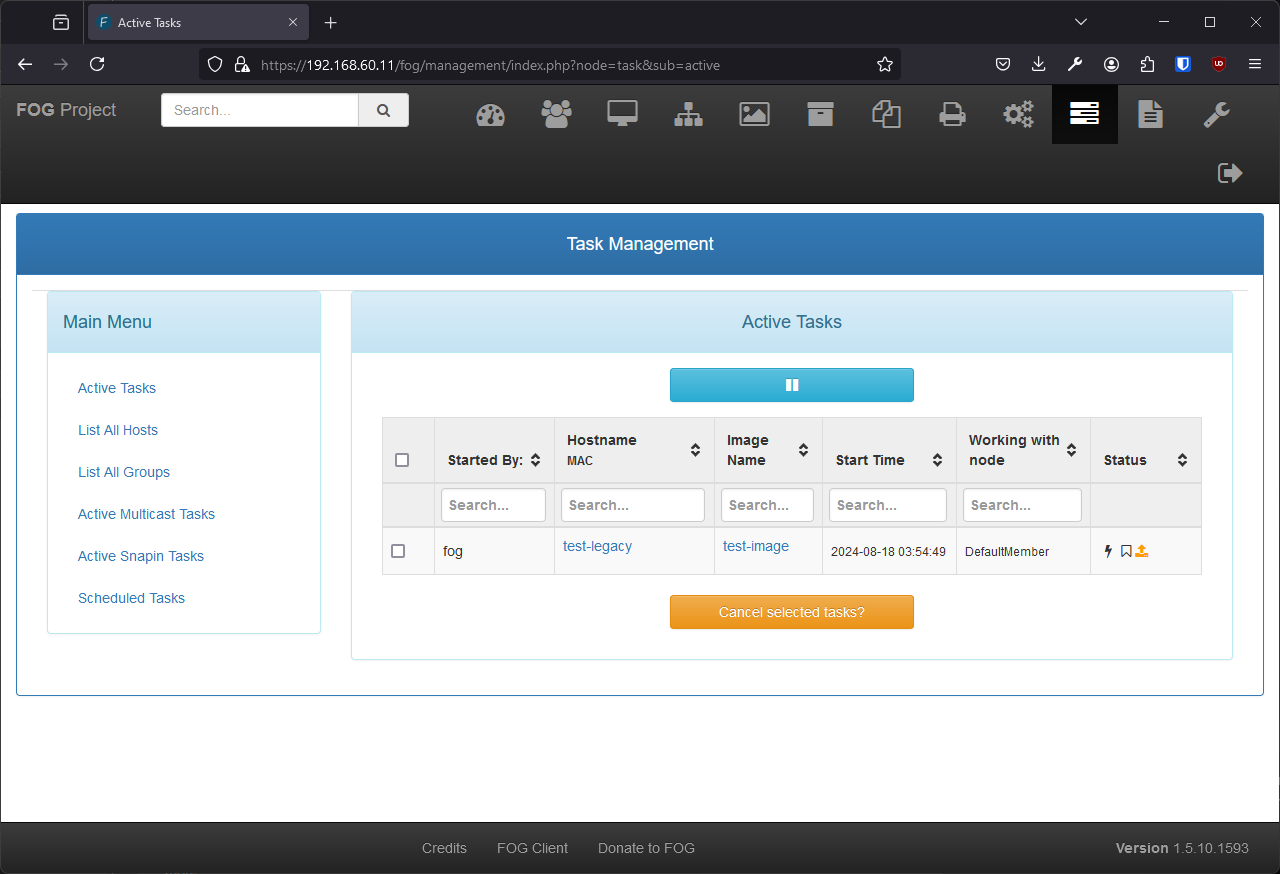
- Restart host to automatically trigger capture:
Deploy the Backup back onto the Node
- Steps of deploy are the same as capture:
Installation Screenshots