Introduction
I had turned inter-webs upside down back in late 2019 - early 2020 (pre-COVID) to find a tutorial that I could follow on multi-master Kubernetes clusters on bare-metal to no avail. Well, I have revisited that exercise, flock around! This tutorial will use VMs (on PVE as usual) for ease of use though, especially for backups.
- CloudInit Debian 13 AMD64 machines are used (remember to increase disk size first :D). Checkout Techno Tim’s video which was linked in proxmox-cloudinit-arm64-vm for details or just use NoCloud/manual install Debian.
- Bridge network is used on the host to better simulate bare-metal experience. However, for those who would try this on BM, adjust interface names, which are conveniently all
eth0in this post. - I would checkout Talos for bare-metal, Kairos (on Yocto) for embedded scenarios. If you work for government, nobody ever got fired for choosing IBM [or SUSE].
- I am yet to test Cilium out for CNI. It is praised for its observability. But one step at a time, Calico is used instead.
- Unfortunately, redundant storage (e.g. Rook, Longhorn) is not within scope of this exercise either. Hopefully, there will be follow up posts.
Aim
- A self-hosted 3-node kubernetes cluster where each node is part of control plane.
- Ability to take down any one of the nodes and keep having operational API server and Services.
- Use of simple network equipment, as those are not cheap in where I currently am.
For the bullet points above, this should be threated as just an educational resource.
Summary
Creating a highly available cluster with kubeadm is already explained in the official documentation. However, that assumes a load-balancer, setup of which is the main focus in here.
Kube-VIP will be deployed on the control plane nodes as Static Pods to achieve load balancing of control plane only. This allows for bootstrapping the cluster.
Thereafter, a CNI network operator needs to be deployed. Calico seems traditional and functional enough (Network Policies).
Lastly, Kube-VIP is deployed a second time, but as a DaemonSet to load balance the services. Even with use of Ingress/Gateway API, a Virtual IP is desired for the Ingress. This part could be replaced with another load balancer (e.g. MetalLB), however, sticking to a single project has less moving parts.
Steps
Disclaimer: AI chat bots (i.e. ChatGPT and Gemini) has been consulted not in making of this blog post, but in debugging errors while distilling the following steps. Otherwise, sources are added where applicable.
Cluster is deployed initially on node cp1, if a set of commands needs to be run on certain nodes, it will be denoted by appending to the title, e.g. @all.
Nodes:
cp1:192.168.60.241/24cp2:192.168.60.242/24cp3:192.168.60.243/24
Virtual IPs:
control plane:192.168.60.240(A recordk8s-cp.bug.tr)services:192.168.60.250(A recordk8s.bug.tr)
Note: Run as root.
1. Disable swap @all
|
|
2. Install Containerd @all
|
|
3. Set containerd as endpoint for crictl [¹] @all
|
|
4. Enable IPv4 forwarding for pod networking to work [²] @all
|
|
5. Set Containerd Configuration [²] [³] [4] [5] @all
If containerd is installed through:
- Docker repositories, config file below defaults to disabling pod network.
- Ubuntu 24.04 APT repository, it is blank.
- Debian 13 APT repository, it has
bin_dir = "/usr/lib/cni"4. This has to be so to comply with Linux FHS, yet breaks Calico installation unless fixed.
It is best to overwrite the whole file as follows. (One would use jinja2 templates rather than inline editing if this were done in Ansible anyway.)
|
|
6. Install Kubeadm (v1.34.1) [6] @all
apt-get install -y apt-transport-https ca-certificates curl gpg
curl -fsSL https://pkgs.k8s.io/core:/stable:/v1.34/deb/Release.key | gpg --dearmor -o /etc/apt/keyrings/kubernetes-apt-keyring.gpg
echo 'deb [signed-by=/etc/apt/keyrings/kubernetes-apt-keyring.gpg] https://pkgs.k8s.io/core:/stable:/v1.34/deb/ /' | tee /etc/apt/sources.list.d/kubernetes.list
apt-get update
apt-get install -y kubelet kubeadm kubectl
apt-mark hold kubelet kubeadm kubectl
systemctl enable --now kubelet
7. Cache Kubeadm container images @all
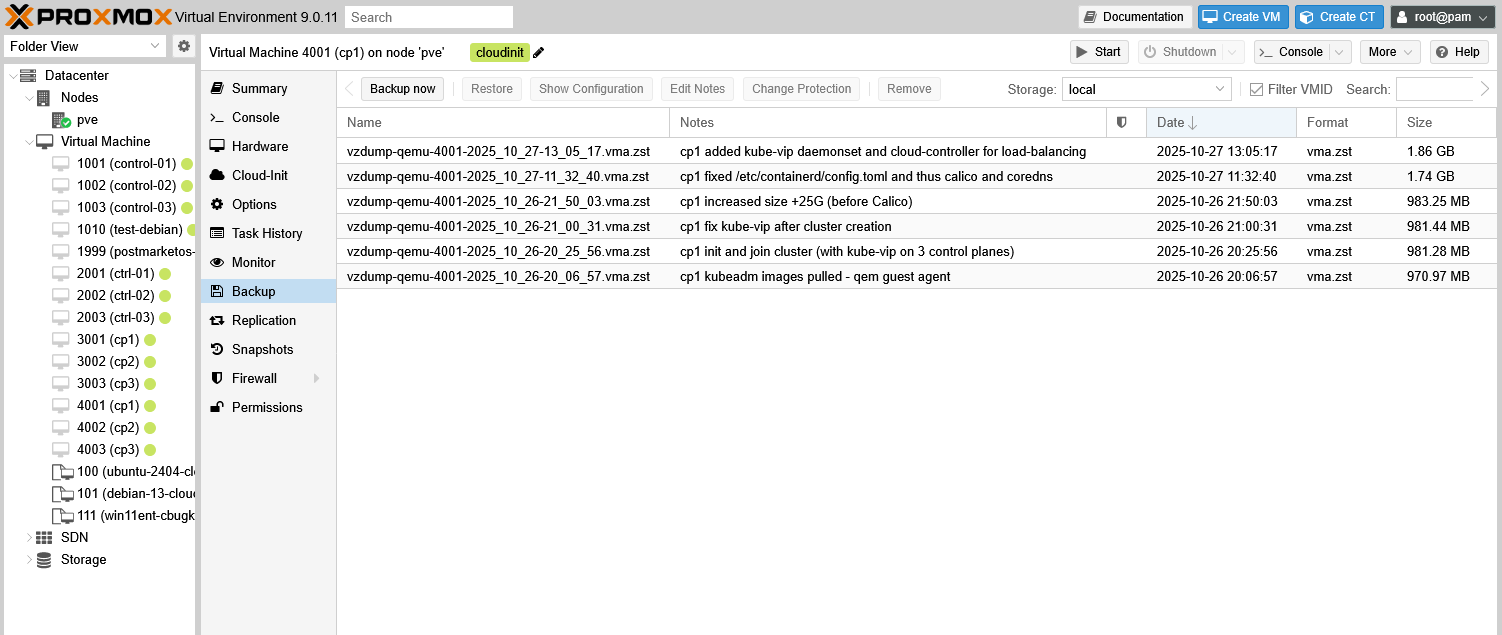
Downloads were a bit slow on my part. Backing up the VMs before initializing a cluster saves time on remakes.
|
|
8. Set variables in shell @all
Trivia: It seems that Turkish government no longer hands out 3-character
.trdomains. If you want to scam some people try gettingCORN.TR/corn.tr(I could not :/).
|
|
9. Create Static Pod YAML file for Kube-VIP [7] @all
This uses ARP mode, BGP mode would be better suited with a capable router. However, as is, this fits most edge deployments I’ve seen better.
Kube-VIP’s container is being used to generate a valid Static Pod to be spun up by Kubelet. There is no need to initially assign the IP address against my first intuition, as the whole cluster should be able to taken down and rebooted after a disaster recovery.
Note: I had the Virtual IP not assigned whereas etcd, and api-server in a constant CrashLoop. The issue was later resolved by changing containerd config to use systemd/cgroups2. IP should just come up,
--leaderElectionoption works, just not in tandem with--servicesElection(YMMV).
Note:
--k8sConfigPath /etc/kubernetes/super-admin.conoption is not needed, as this StaticPod is used only for control plane. Service load balancer will be set up after Cluster is brought up.
|
|
10. Initialize Cluster [8] @cp1
I made use of AI chat bots to translate my imperative CLI command into a configuration YAML.
Below signs cluster for IP addresses of all 3 nodes, the VIP and the subdomain. If expansion is desired for later, then more need to be added beforehand. Like NOW!
There also is a command embedded as a comment which updates Kubelet configuration from the file. It would need to be run on each node separately with proper cordon/uncordon-ing of course.
|
|
|
|
This should result in an output similiar to the below upon success:
|
|
11. Add Control Plane Nodes @cp2, @cp3
Simply run command given in the kubeadm init’s output. This step can be performed at any point after cluster is initiated. Next steps are not dependent on this.
12. Add Calico to Cluster [9] @cp1
IPTABLES is being used instead of eBPF, due to this being a rather simpler exercise. Cilium seems the better eBPF CNI operator anyway.
|
|
Note: Alternatively to changing
bin_dirof Containerd (in Step 5), one might be able to change it for Calico by altering installation steps. This has not been tested
|
|
13. Install Kube-VIP DaemonSet for Services [10] [11] @cp1
--serviceElection option can be used here as this DaemonSet’s VIP does not create a bootstrapping issue. And --controlplane option is missing for that exact reason.
|
|
14. Try the Load Balancer @cp1
Follow Kube-VIP’s multi load balancer example.
Bibliography
- Github: crictl
- k8s.io/docs: Container Runtimes
- Reddit: JohnHowardsEyebrows’s comment
- LinkedIn: Jeremy Hendricks’ post
- Kubernetes Discussion: AndrewLawrence80’s comment
- k8s.io/docs: Installing Kubeadm
- Kube-VIP: Static Pods
- k8s.io/docs: Kubeadm Configuration
- Calico: On-Premises
- Kube-VIP: DaemonSet
- Kube-VIP: Cloud Provider